Espresso Cheesecake
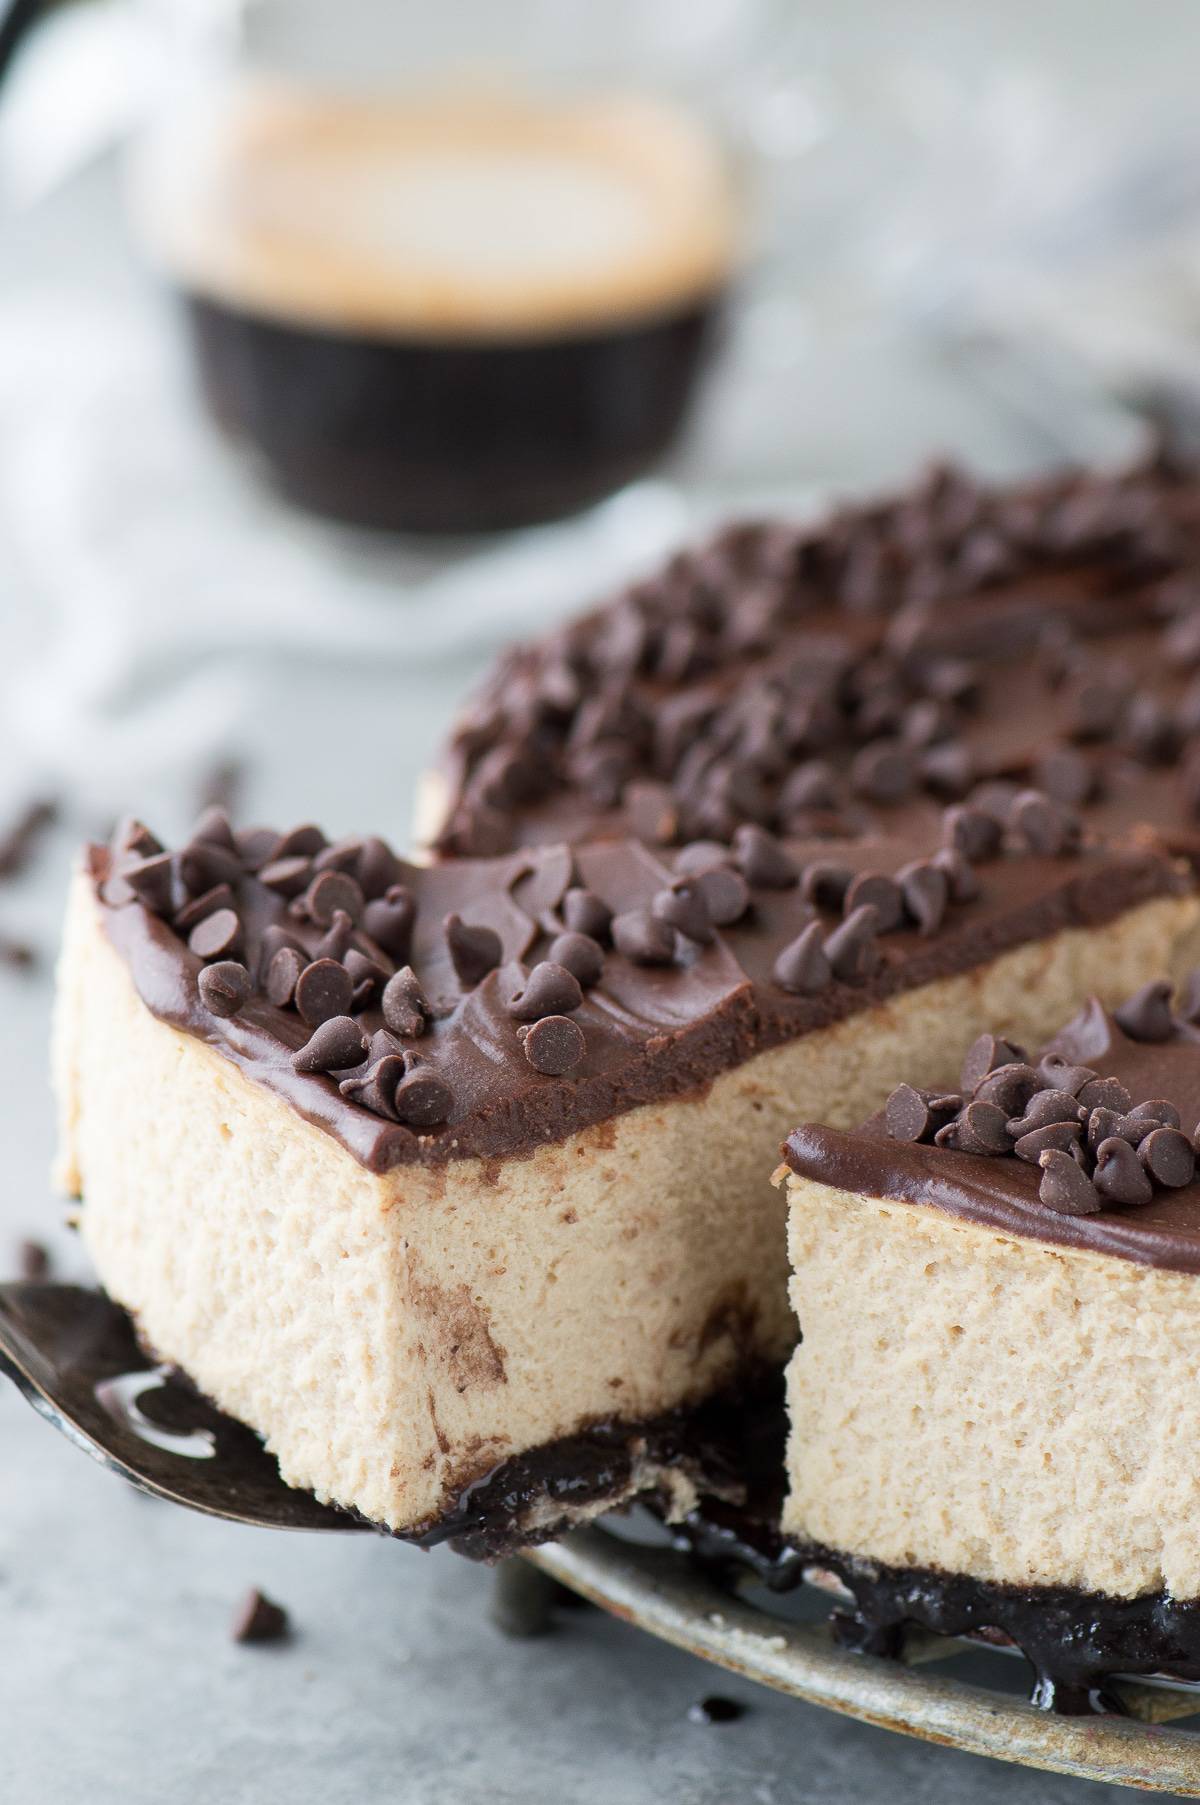
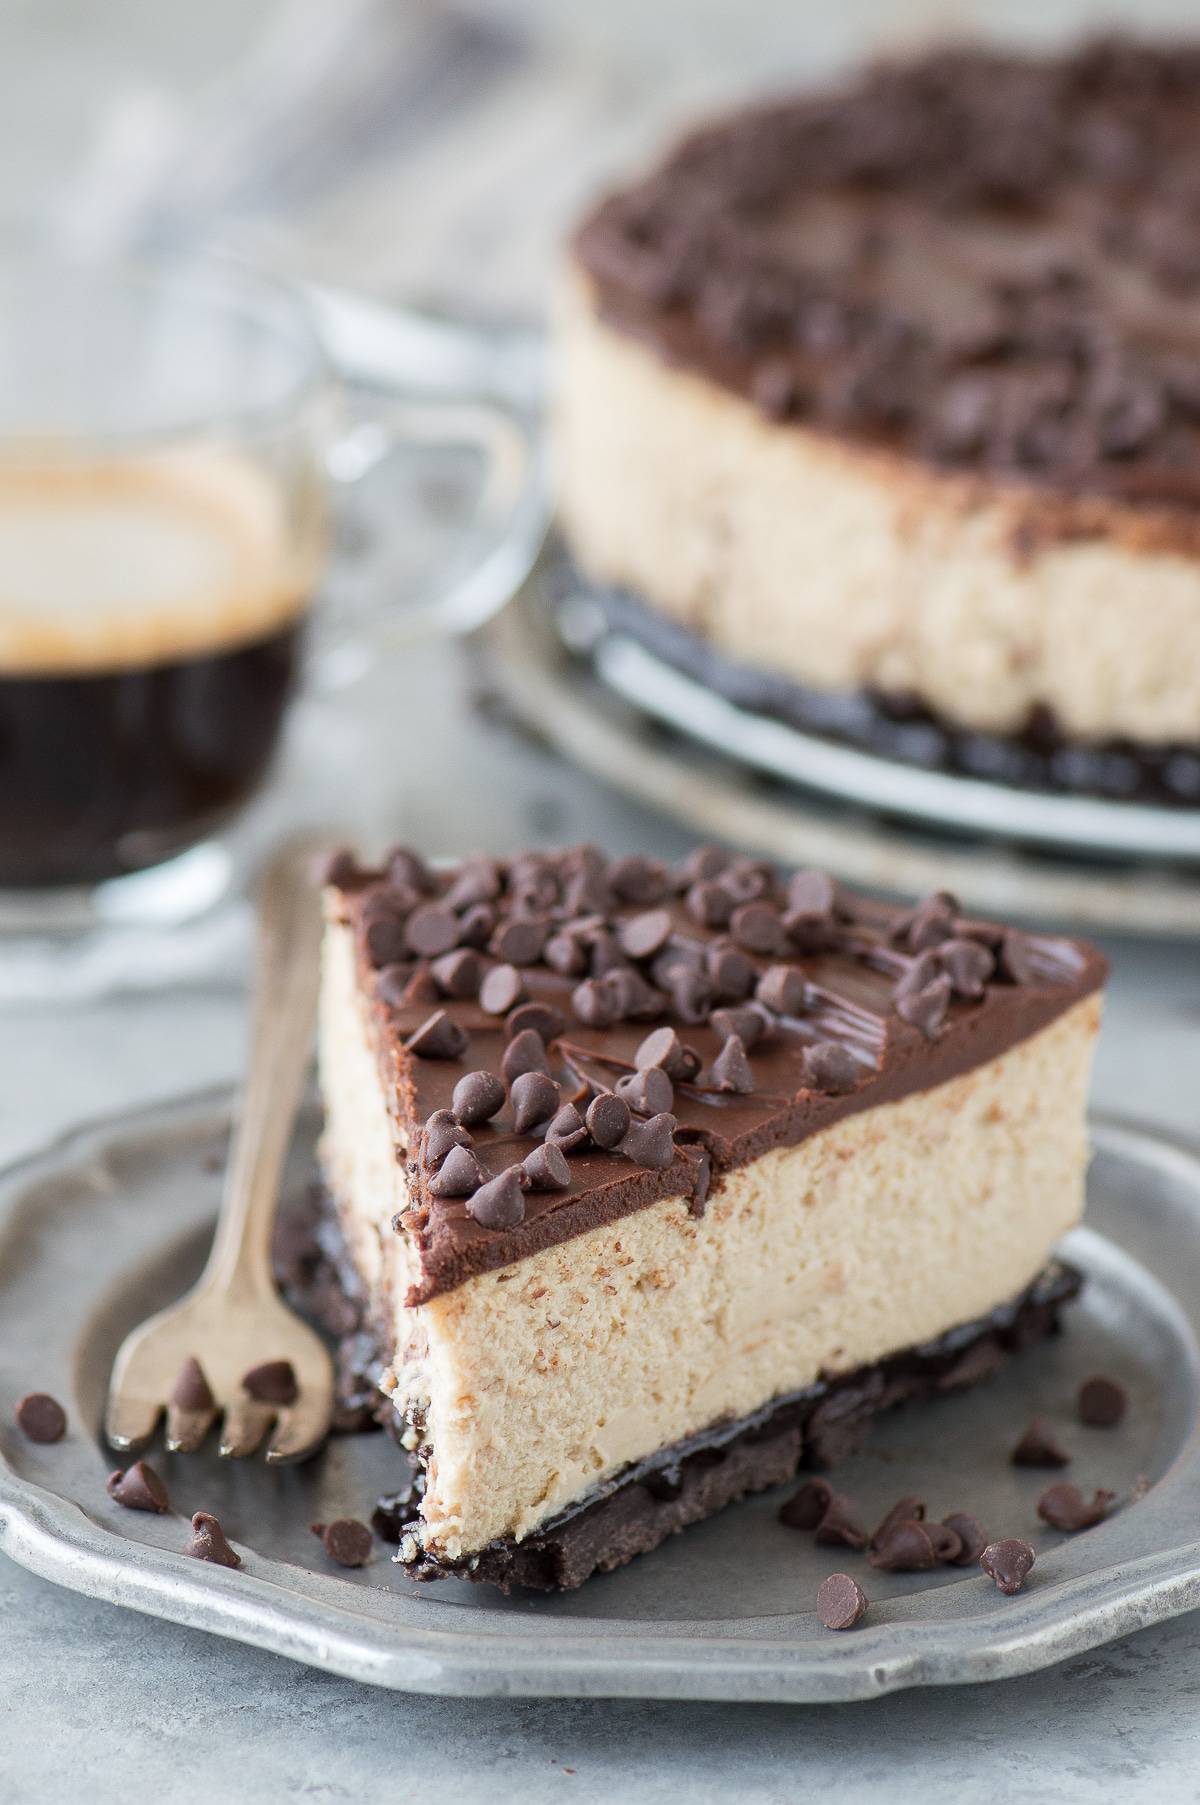
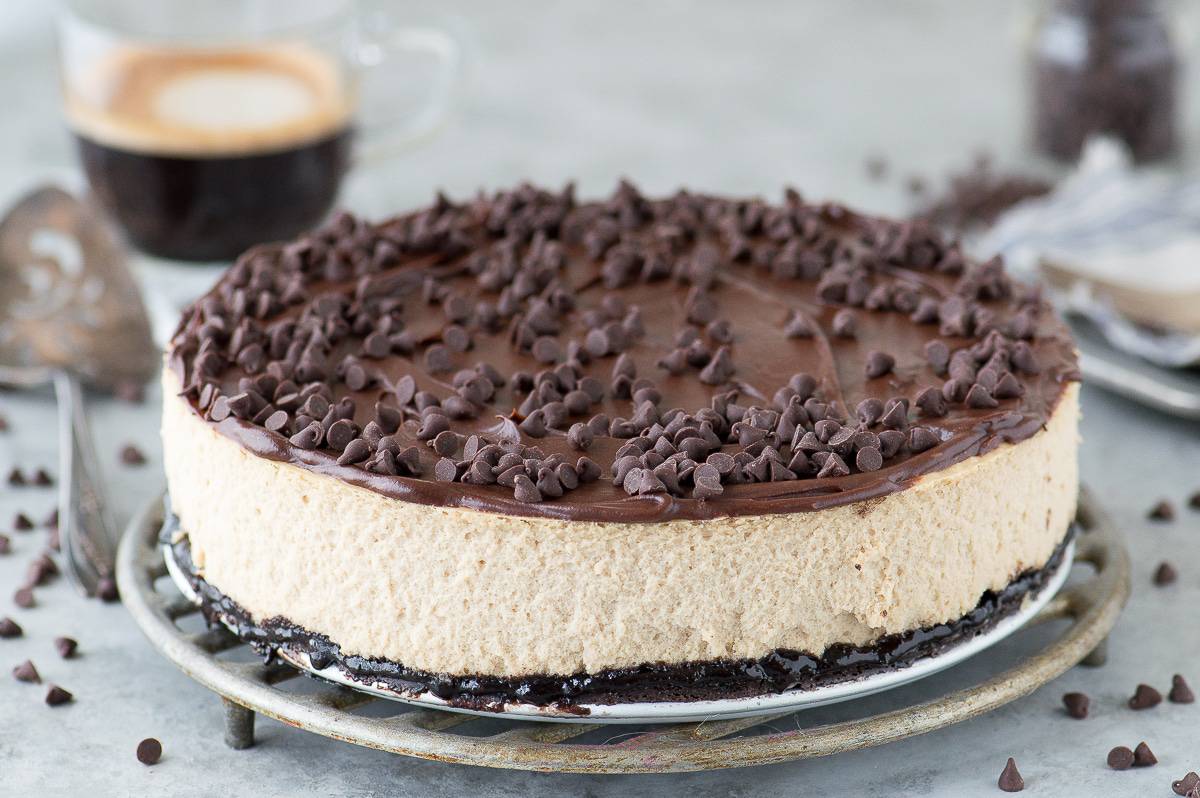
The most amazing espresso cheesecake with an oreo crust and a layer of chocolate ganache! This cheesecake has real espresso in it!
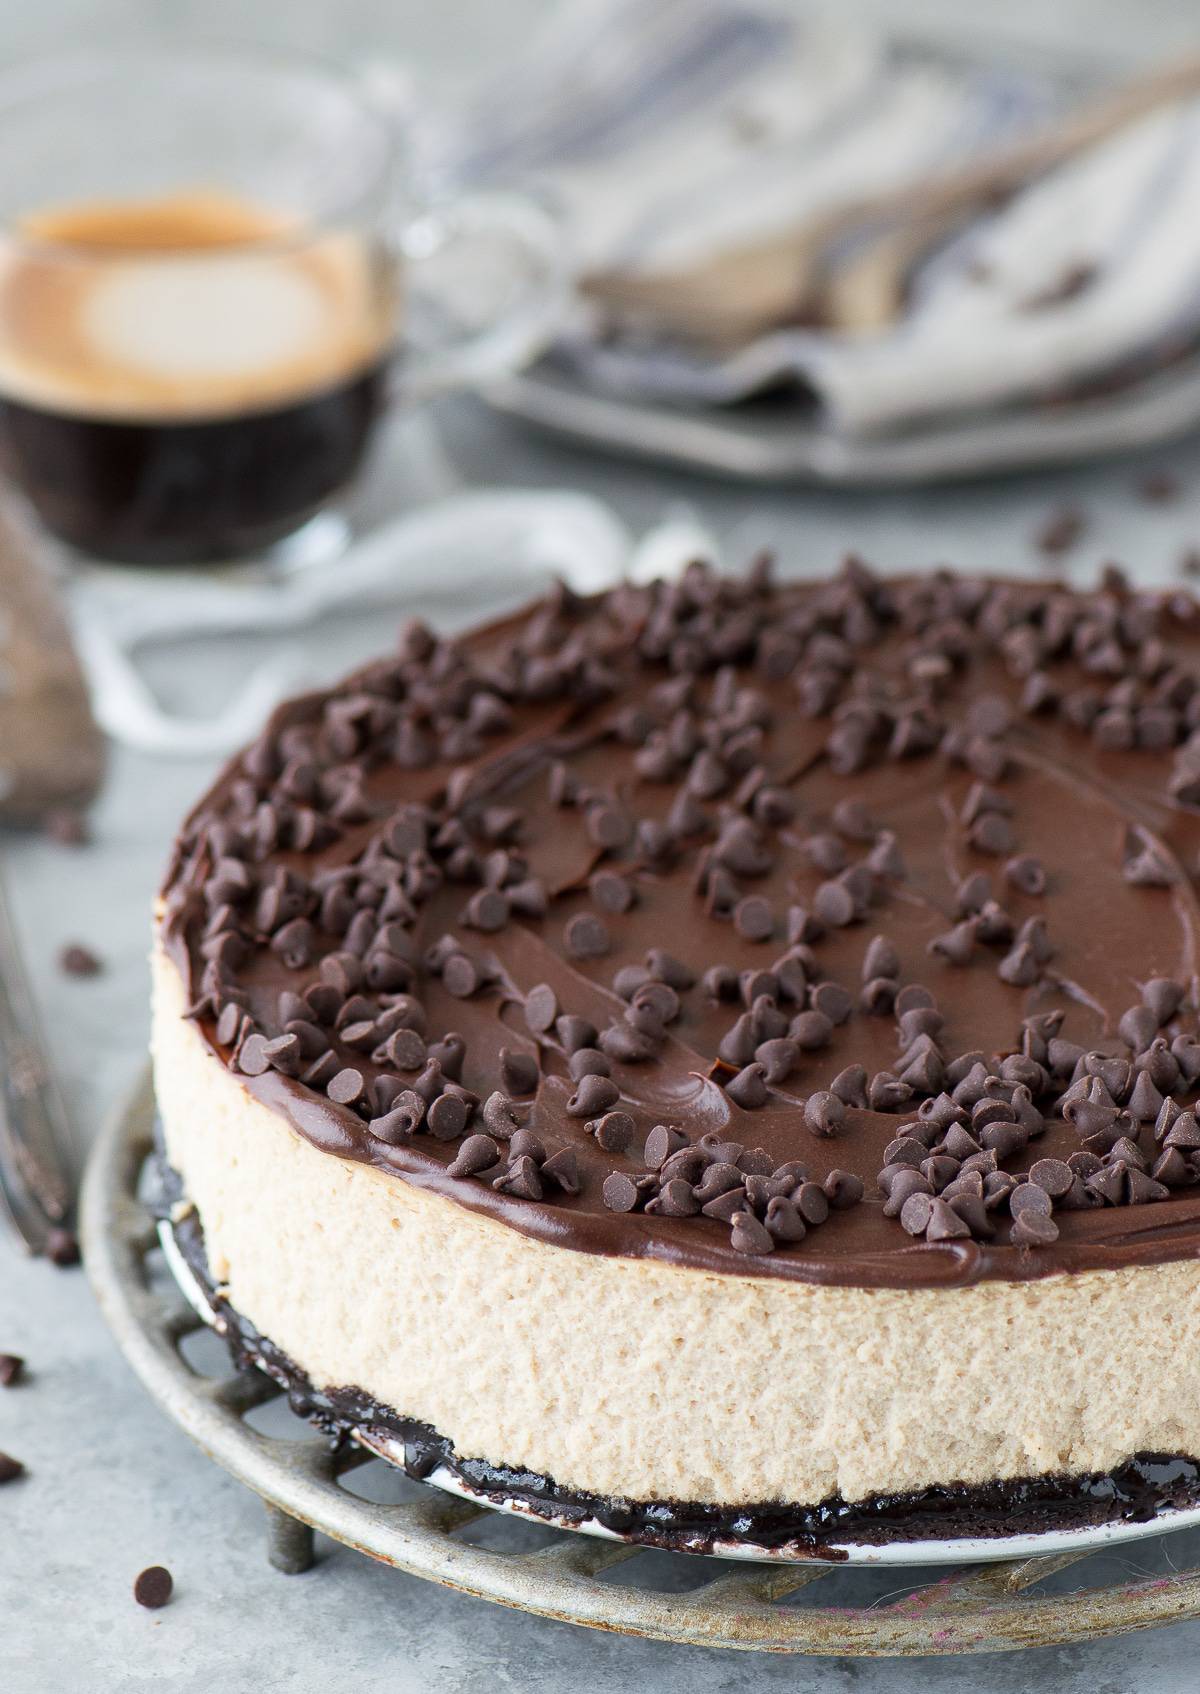
So here are the 2 most important details to follow when making cheesecake.
1. Don’t be afraid of the water bath! I know it sounds weird, putting your cheesecake in a water bath, but it’s the secret to creating moist, perfectly baked cheesecake. It’s really not scary. Be sure to wrap the pan your baking your cheesecake in with 3 layers of tinfoil before you fill it with the cheesecake mixture. Place the cheesecake pan inside a larger pan, like a 9×13, and fill the 9×13 inch pan with water, about 1-2 inches below the top of the cheesecake pan.
2. Don’t rush the cooling process. Once the cheesecake is done baking, let it sit in the oven for 1 hour or longer with the oven door cracked. A slow cooling process will help prevent the cheesecake from cracking. Don’t forget to refrigerate your cheesecake over night before serving.
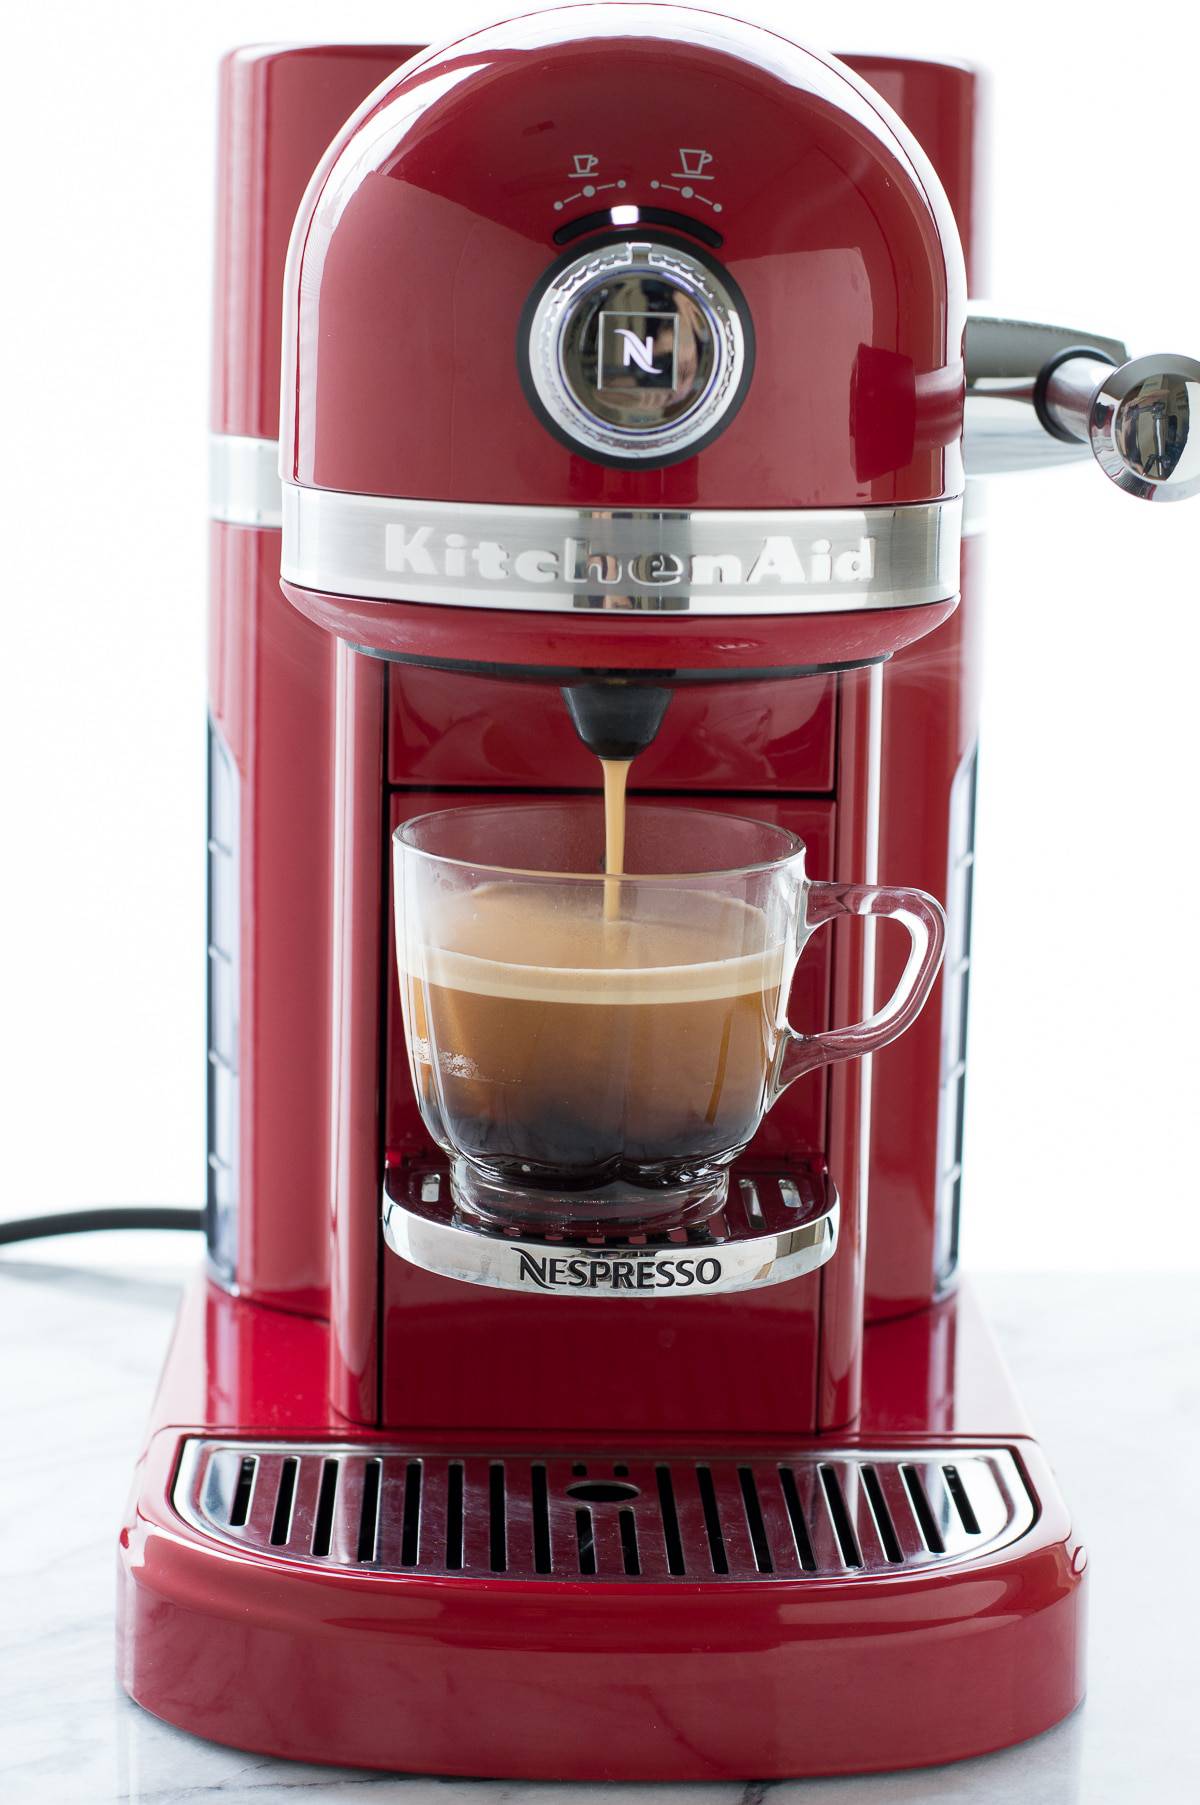
 I created this recipe in partnership with KitchenAid. Thank you for supporting the brands who make it possible for me to share recipes with you!
Espresso Cheesecake
yield: ONE 8 INCH CHEESECAKE
total time: 3 HOURS+
The most amazing espresso cheesecake with an oreo crust and a layer of chocolate ganache! This
cheesecake has real espresso in it!
Ingredients:
CHEESECAKE
- 3 packages full fat cream cheese, 8 oz each
- 3/4 cup sugar
- 1 tsp vanilla extract
- 1/3 cup brewed espresso
- 3 eggs
CRUST
- 2 cups oreo crumbs (cream and all)
- 5 tbsp butter, melted
CHOCOLATE GANACHE
- 1/2 cup heavy cream
- 3/4 cup chocolate chips (I use semi-sweet)
- mini chocolate chips, for topping, optional
Directions:
CRUST
- Preheat the oven to 350º F.
- Pulse the oreos or similar chocolate crackers/cookies in a blender or food processor until they are very fine. Measure out 2 cups of crumbs. Combine the crumbs with the melted butter in a small bowl and mix well until incorporated.
- Before adding the crumbs to the pan, wrap the bottom and sides of the springform pan in 3 layers of aluminum foil. This will help keep the water out during the water bath.
- Add the crumbs to the 8 inch springform pan, distribute them evenly, using a cup or the bottom of something flat to press the crumbs into the pan. If desired, you can have the crumbs go up the sides of the pan a bit.
- Place the pan in the oven, bake the crust for 8-10 minutes or until golden.
- Remove the pan from the oven, and allow it to cool to room temperature before adding the cheesecake mixture.
- Turn the oven down to 325º F.
CHEESECAKE
- In a large mixing bowl, beat the 3 packages of cream cheese until smooth, about 2-3 minutes. Add in the sugar, vanilla, and espresso, beat again. Add in the eggs, ONE at a time, beating after each one. Beat the mixture for 1 additional minute. Pour the cheesecake mixture on top of the cooled crust. Make sure the crust and pan have cooled before doing so.
- Place the 8 inch round springform pan inside a 9x13 inch cake pan. Carefully fill the 9x13 inch pan with water, filling it about 1 inch below the top of the tin foil on the 8 inch pan. **Note: You can use a 9 inch springform pan for the cheesecake, but you will need a larger pan for the water bath. Perhaps one of those disposable aluminum foil pans would fit a 9 inch springform pan. I like to place the cake pan on top of a large baking sheet, this makes moving the water bath easier.
- Place the water bath with the cheesecake inside in the oven and bake at 325º F for 60 minutes. The cheesecake is done when the center wobbles a little when you jiggle the pan. The edges of the cheesecake should look firmer than the center.
- Once your cheesecake looks done, turn the oven off and open the oven door a little. Allow the cheesecake to cool to room temperature inside the oven before removing - this could be 60-90 minutes.
- Once cooled, remove the cheesecake from the oven. Take the aluminum foil off carefully and place the cheesecake (still in the pan) in the fridge for at least 6 hours or overnight.
- Before serving, carefully unmold the cheesecake from the pan. Allow the pan to do most of the work, some of the cheesecake may stick to the pan, but the cheesecake should naturally separate from the pan.
CHOCOLATE GANACHE
- Place the chocolate chips in a heat proof bowl.
- In a small saucepan over medium heat, bring the heavy cream to a boil. Once boiling, pour the heavy cream over the chocolate chips. Allow the mixture to sit for 1-2 minutes, melting the chocolate chips, then stir well to mix. Allow the chocolate to cool for 5-7 minutes.
TO ASSEMBLE
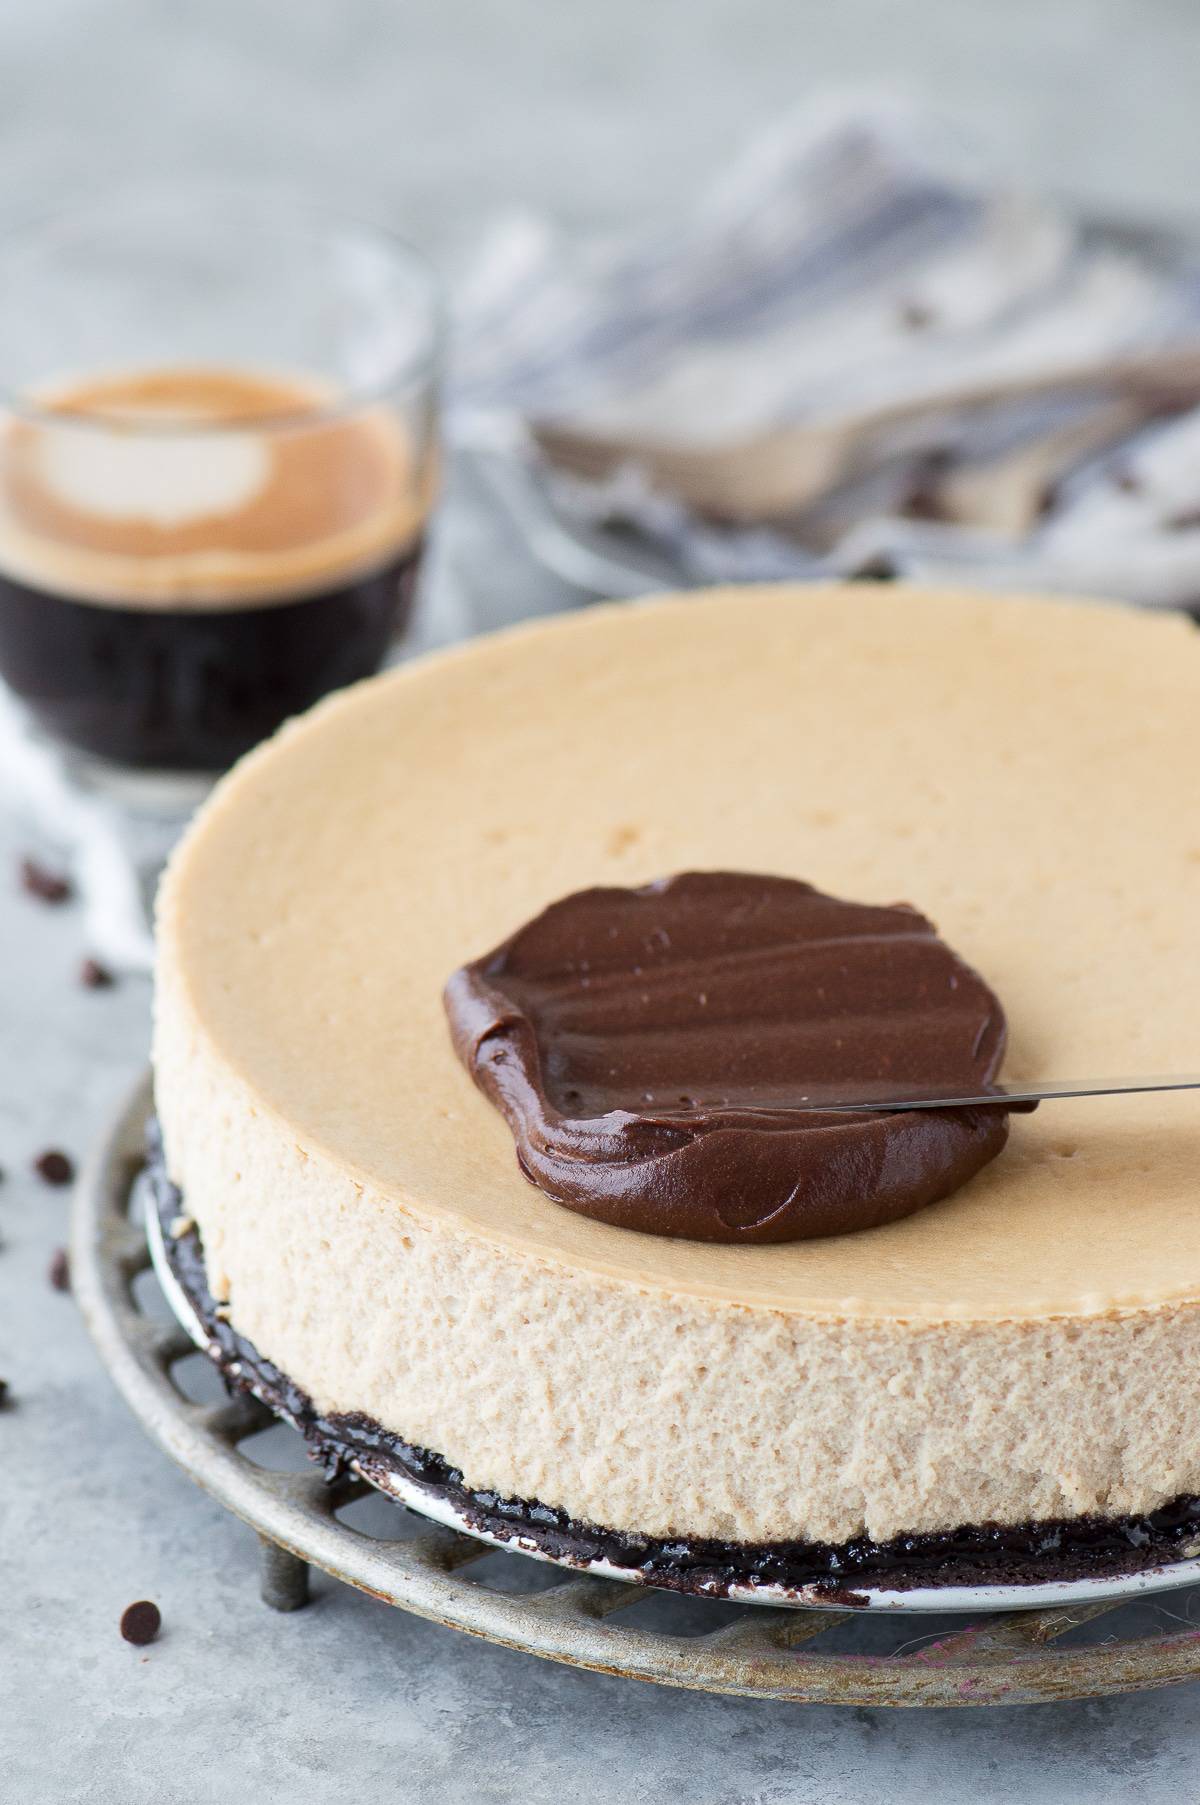
- Pour/spoon the chocolate ganache on top of the cheesecake, using a spatula to spread it around.
- Add mini chocolate chips on top of the ganache.
- Serve. Cover and refrigerator any leftovers.
recipe source: https://thefirstyearblog.com/espresso-cheesecake